Cursor and Figma: A Design-to-Code Workflow
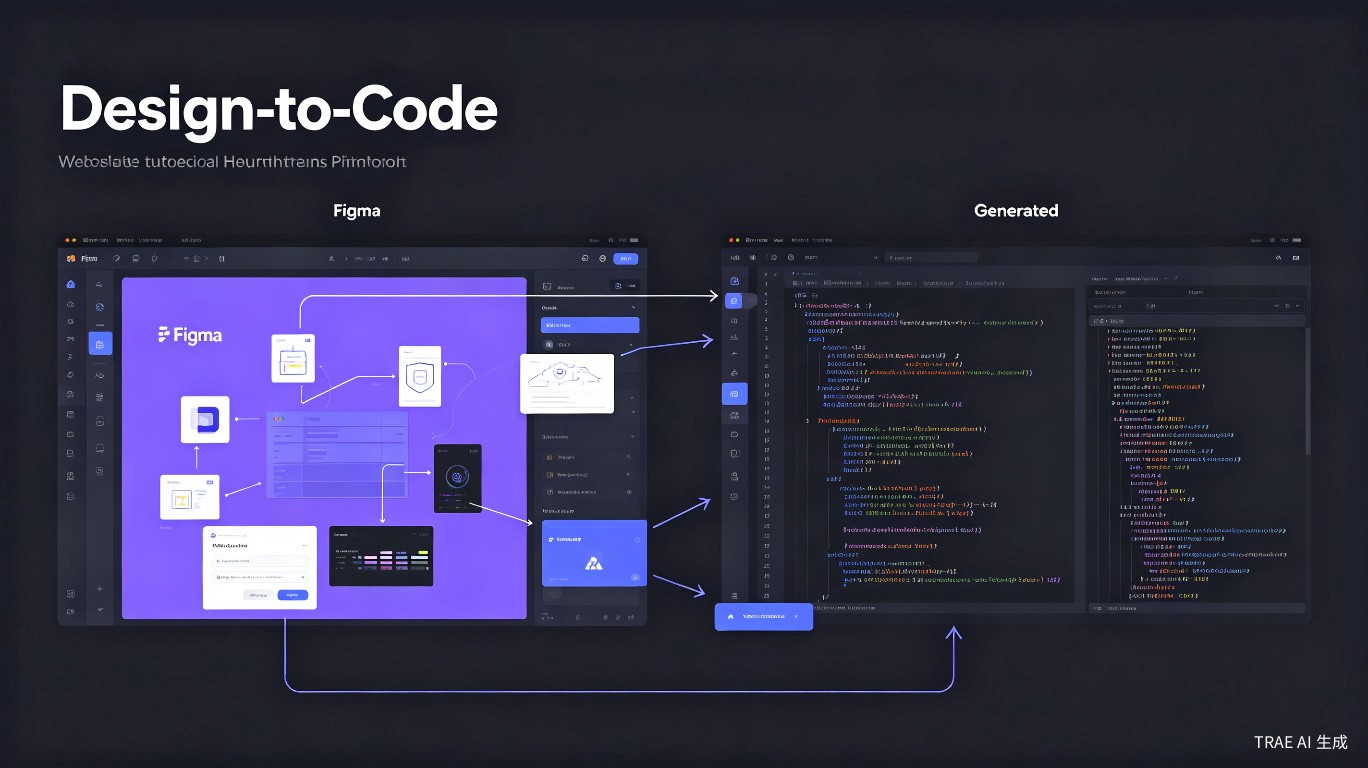
Translating Figma designs into working code is one of the most time-consuming parts of front-end development. Cursor AI can accelerate this process significantly when paired with the right tools and workflows. This guide covers how to connect Figma and Cursor, generate code from designs, and maintain consistency between your design system and codebase.
The Core Challenge
Designers work in Figma. Developers work in code. The handoff between these two worlds is fraught with friction:
- Manual measurement of spacing, colors, and typography
- Inconsistent naming between design tokens and code variables
- Repeated back-and-forth to verify pixel-perfect implementation
- Design drift as the codebase evolves away from the source of truth
Cursor does not replace this handoff, but it can compress the time from design to working code from hours to minutes.
Tools That Connect Figma and Cursor
There is no single official integration between Figma and Cursor. Instead, several tools and extensions bridge the gap. Here are the options that work best.
1. Official Figma Extension for VS Code
Since Cursor is built on VS Code, the official Figma extension works out of the box.
What it does:
- Displays Figma designs in a side panel within Cursor
- Allows design inspection (spacing, colors, typography) without leaving the editor
- Links design files to specific code files
- Shows design updates in real time when the Figma file changes
Setup:
- Open Cursor
- Go to Extensions (Ctrl+Shift+X / Cmd+Shift+X)
- Search for "Figma" and install the official extension
- Connect your Figma account
- Paste a Figma file URL into the extension panel
Figma extension limitations:
- Does not generate code automatically
- Read-only design viewing
- Requires manual translation to code
2. Frontier Extension
Frontier is a third-party VS Code extension that generates code from Figma links. It is particularly useful for React and Vue components.
What it does:
- Accepts a Figma component URL
- Generates React/Vue/HTML code based on the design
- Supports design system component mapping
- Allows iterative refinement with Cursor's AI
Workflow:
- Copy a component link from Figma
- Paste it into Frontier
- Receive generated code
- Open the file in Cursor and use chat to refine it
Frontier shines when you have a mapped design system. It can recognize that a Figma button should map to your existing <Button /> component instead of generating raw HTML.
3. Superflex.ai
Superflex.ai provides a VS Code plugin that extracts Figma metadata and integrates it into your editor.
Features:
- Extracts design tokens (colors, fonts, spacing scales)
- Generates component scaffolding
- Integrates with both Cursor and VS Code
4. CursorMate
CursorMate is a community tool that enables direct Figma URL integration within Cursor workflows.
How it works:
- Provide a Figma URL to CursorMate
- It pulls serialized design data via the Figma API
- Stores the data in a
.cursormate/directory in your project - You can reference this design data in Cursor chat prompts
Example Cursor prompt with CursorMate:
"Generate a React component for the hero section using the design
data in .cursormate/hero-section.json. Use Tailwind CSS and match
the spacing and typography exactly."
Exporting Figma Designs for Cursor
If you prefer not to use extensions, manual export workflows also work well with Cursor.
Method 1: Copy CSS Directly from Figma
Figma's Dev Mode (previously Inspect panel) lets you copy CSS properties:
- Select a layer in Figma
- Switch to Dev Mode (Shift+D)
- Copy the CSS properties
- Paste into Cursor chat and ask for conversion
Cursor prompt:
"Convert this CSS to Tailwind CSS utility classes:

background: #1E293B;
border-radius: 8px;
padding: 16px 24px;
font-family: 'Inter', sans-serif;
font-size: 14px;
color: #FFFFFF;"
Method 2: Export as SVG and Describe
For complex components, export the design as SVG and describe what you need:
- Select the component frame in Figma
- Export as SVG
- Paste the SVG code into Cursor
- Ask Cursor to convert it to a React/Vue component
Cursor prompt:
"Convert this SVG into a React component with inline styles.
Make the colors use CSS variables so they can be themed."
Method 3: Screenshot and Vision (If Available)
If your Cursor setup supports image input, you can paste a screenshot of the design directly into chat:
Cursor prompt:
"Implement this design as a React component using Tailwind CSS.
Match the layout, colors, and spacing as closely as possible."
Image support in Cursor chat depends on your model and plan. Claude Sonnet 4 supports image input, while some other models do not. Check your model capabilities before relying on this workflow.
Generating Code from Designs
Once you have design data in Cursor, the quality of generated code depends heavily on how you prompt.
Prompting Strategies
Strategy 1: Provide Design Tokens First
If your project uses a design system, share the tokens before asking for components:
Our design system uses these tokens:
- Primary color: #3B82F6
- Border radius: 8px
- Spacing scale: 4px, 8px, 12px, 16px, 24px, 32px
- Font: Inter, weights 400 and 600

Now generate a card component with an image, title, and description
using these tokens.
Strategy 2: Break Down Complex Designs
Instead of asking for an entire page at once, break it into sections:
Step 1: "Generate the navbar component"
Step 2: "Generate the hero section"
Step 3: "Generate the features grid"
Step 4: "Assemble these into a single page layout"
Strategy 3: Specify the Framework
Always mention your tech stack:
Good: "Generate a Next.js 14 page with Tailwind CSS for this design"
Bad: "Make this design into code"
Maintaining Design Systems
The real challenge is not the initial code generation -- it is keeping the code in sync with the design system as both evolve.
Design Tokens in Code
Store your design tokens in a centralized file that both designers and developers reference:
// tokens.ts
export const tokens = {
  colors: {
    primary: '#3B82F6',
    secondary: '#64748B',
    background: '#F8FAFC',
    surface: '#FFFFFF',
  },
  spacing: {
    xs: '4px',
    sm: '8px',
    md: '16px',
    lg: '24px',
    xl: '32px',
  },
  borderRadius: {
    sm: '4px',
    md: '8px',
    lg: '12px',
  },
  fontFamily: {
    sans: "'Inter', sans-serif",
  },
} as const;
When generating components, tell Cursor to reference these tokens:
"Use the design tokens from src/tokens.ts instead of hardcoding values."
Keeping Figma and Code in Sync
| Approach | Effort | Accuracy |
|---|---|---|
| Manual updates | High | Medium |
| Token file shared with design | Medium | High |
| Automated sync via API | Low (setup) | High |
| Weekly design review | Medium | Medium |
Export your Figma variables to JSON using a plugin like "Tokens Studio" or "Figma Tokens". Commit the JSON to your repo. Cursor can then read the same token file that Figma uses.
Best Practices
1. Organize Figma Files for Code Generation
- Use consistent naming for layers and components
- Group related elements into frames
- Use Figma's component system for reusable UI elements
- Document spacing and layout logic in Figma comments
2. Review Generated Code Carefully
AI-generated code from designs often has issues:
- Hardcoded values instead of design tokens
- Missing responsive behavior
- Accessibility oversights (missing alt text, low contrast)
- Unnecessary nesting or div soup
Always review and refactor before committing.
3. Use Cursor Chat for Refinement
After the initial generation, use chat to polish:
"Refactor this component to:
1. Use the design tokens from tokens.ts
2. Add responsive breakpoints for mobile
3. Add aria-labels for accessibility
4. Extract the button into a reusable subcomponent"
4. Version Control Your Design Exports
If you export design assets or token files from Figma, commit them to Git:
# Export tokens from Figma
cp ~/Downloads/tokens.json design-system/tokens.json

# Commit with context
git add design-system/tokens.json
git commit -m "Update tokens from Figma v2.3 -- new color palette"
This creates an audit trail of design changes.
Common Issues and Solutions
Generated Code Does Not Match the Design
Cause: The AI did not have enough context about your design system or constraints.
Solution: Provide design tokens, reference existing components, and specify the exact framework and styling approach.
Colors or Fonts Are Wrong
Cause: Figma uses hex codes or style names that the AI does not map to your project's theme.
Solution: Share your theme configuration file before generating code.
Layout Breaks on Different Screen Sizes
Cause: Figma designs are often created at a single viewport size.
Solution: Explicitly ask for responsive behavior in your prompt. Specify breakpoints if your project uses them.
Extension Conflicts
Cause: Multiple Figma-related extensions may conflict in Cursor.
Solution: Install only the extensions you actively use. Disable others and restart Cursor.
Summary
The Figma-to-Cursor workflow is not a single button press -- it is a pipeline of tools, prompts, and reviews. The most productive teams combine:
- Figma extensions (official or third-party) for design access within Cursor
- Clear design tokens shared between design and code
- Structured prompting that specifies framework, tokens, and constraints
- Iterative refinement using Cursor chat to polish initial output
Key takeaways:
- The official Figma extension for VS Code works in Cursor for viewing designs
- Frontier and Superflex.ai can generate code from Figma links
- Always provide design tokens and tech stack context in your prompts
- Break complex designs into smaller components for better results
- Review AI-generated code for accessibility, responsiveness, and token usage
With practice, you can go from a Figma design to a working, production-ready component in under 10 minutes.
Last updated: June 2025